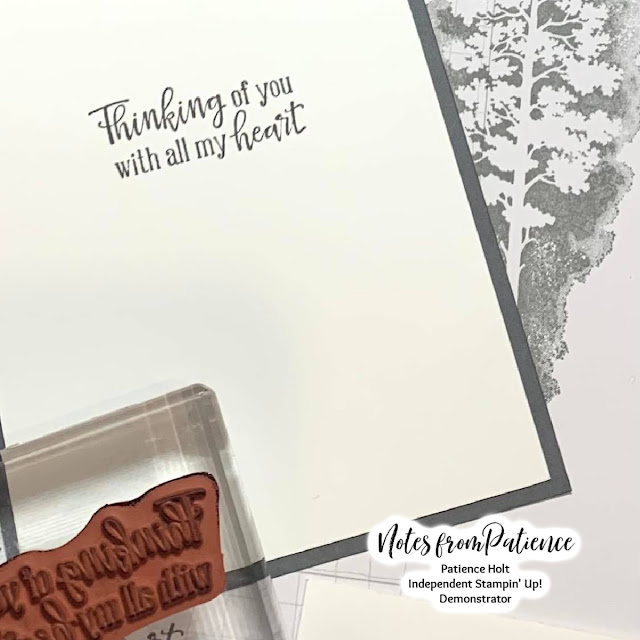
Today I’m going to show you How to Design a Simple Card with Stampin’Up! Amazing Silhouette Stamp Set. I love silhouette stamps and dies–this one is a reverse silhouette… This stamp set is a carry over from last year’s Annual Catalog. I have used it several times but haven’t ever shown my cards. So, to fix that, I have made this monochromatic card that is easy to duplicate. I have posted instructions below that shows you how to make this beautiful easy card.
So instead of the usual black image we can have white or any other color with a beautiful colored background.
And a bit closer at finished card…

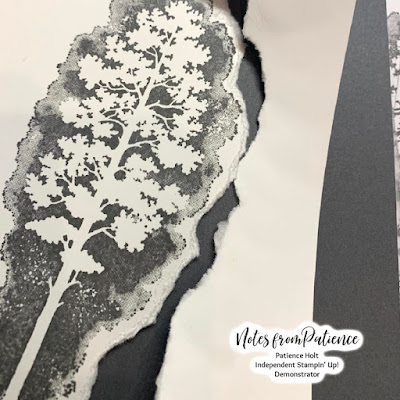
The image is stamped on white card stock using Basic Gray ink–it’s a lighter shade of black so it softens the image a bit. Instead of using a die to cut the image (you are right, there are no dies for this image) I used an old fashioned technique called tearing. By holding the image in your left hand just pull the paper toward you with your right hand tear around the stamped image. Use your left fingers to help guide the tearing to keep it close to the stamped image..this leaves a beautiful soft border surrounding the stamped image.
The torn image is mounted on the new Layering Design Vellum. Since I chose the black printed vellum, I layered it on white card stock to give that great contrast.
It’s all topped off with a bow of the Gray Granite Shimmer Ribbon. It has that gray undertone to give it just a hint of color.
Remember: If you use this month’s host code you can earn Perk Points for every $50 in product that you order (excludes shipping & tax). AND Every order over $35 receives a free embellishment. Monthly Host Code can be found on the Right side of this blog.
Card Recipe:
1. Cut Basic Gray card stock 4 1/4 X 11, score long side at 5 1/2 (card base).
2. Cut Basic Black card stock 4 X 5 1/4; adhere to card front.
3. Cut Basic White card stock 3 3/4 X 5; adhere to black layer.
4. Cut Basic White card stock 4 X 5 1/4 for the inside of the card.
5. Cut Vellum (Design Layering) 3 3/4 X 5; adhere to white layer with glue dots in each corner. The script on the vellum hides the dot pretty well.
6. Stamp image in Basic Gray on Basic White card stock, tear around the image and adhere to vellum with glue dots.
7. Cut approximately 6″ Evening Evergreen Windowpane ribbon and tie in bow–adhere to image with glue dots.
8. Finish off with a bow of Gray Granite Shimmer Ribbon.
9. Stamp sentiment on the inside layer of Basic White and adhere to the inside.
Your card is ready for sending!
See Calendar of Events: https://tinyurl.com/2p9xxhah
Shop the Clearance Rack: https://tinyurl.com/yc6yaeru
Sign up for Newsletter: https://tinyurl.com/y5xd8752
Join me on Facebook: https://tinyurl.com/y5zcvr47
Follow me on Instagram: https://instagram.com/notesfrompatience/
Shop 24/7: https://tinyurl.com/y6nckr6a
Follow Me on You Tube: https://tinyurl.com/y6dgetm4
Join My Team: https://tinyurl.com/y3b9k95f
Follow me on Pinterest: https://tinyurl.com/y2ylq3ap
Other Happenings:
See Stampin’ Up!’s New Product videos


Leave a Reply